
My little princess turned four this week & wanted to have a special party cake. The challenge was big for a non baker like me and especially when it comes to dairy & egg free cake (as she is allergic to it). The final outcome of the demand was this......Presenting pull apart cake (with pictorial)
List
- 48 mini cup cakes liner & tray
- 3 cans of purple frosting
- 1 can of vanilla frosting (I used white color to make it perfect white)
- Small amount of white fondant
- Edible pearls
- Edible shine dust powder
- 1M icing tip
- Disposable frosting bag
- Wax paper
- Pin roller
- Knife
- Toothpick
- 13in X 19in cake platter
Process
I used this ready made chocolate cake mix which is dairy free. Follow the instructions on cake box except adding egg. I did not put any substitute for egg.


After backing the cup cakes were ready, make sure to cool off the cup cakes completely before doing frosting. Its very important.

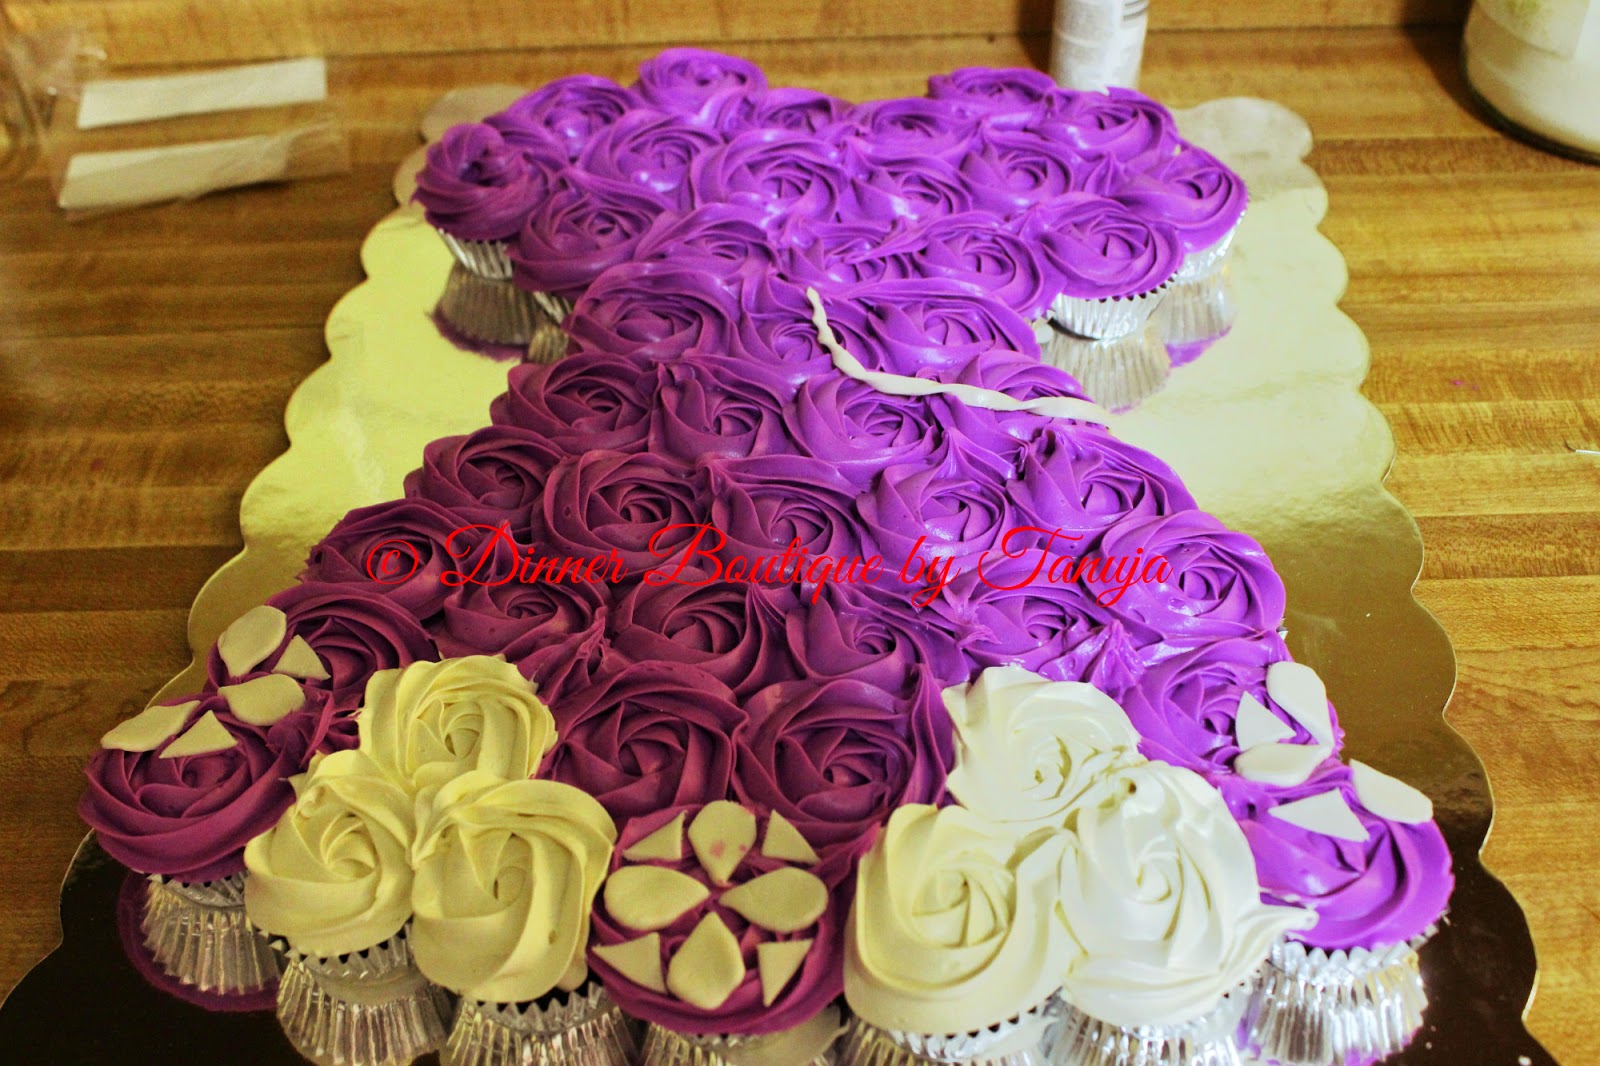
Once the cup cakes are ready lay them in gown shape as shown below on cake platter
 |

after fixing all the cupcakes add toothpick as shown to the cupcakes which needed to be in different color of frosting so we don’t miss on it

ready your icing bag, I chose ready made frosting & it's dairy free too

start from upper part of gown & work your way down. Hold firm hand start from center of the cup cake & work your way out


now its a time to add a white frosting to it, I used usual vanilla flavor frosting & added white color to it. use the same frosting tip in a fresh bag.


now roll on some fondant on wax paper. I did free hand cut to it as per dress design

Place the fondant design starting from middle end of the gown and working toward the edge

roll on another fondant to cut the straight lines which we will be used on waistline design

pick up one line give it a little twist at place it as shown in pic
now sprinkle some edible pearl below waistline only. At this stage we also have to make 11 round balls & roll it in silver dust to look like a pearl for upper part of the gown


To make amulet roll the fondant and free hand cut it in amulet shape & give it a violet color with brush & sprinkle some silver dust on it


that's it we are done ....carefully store the cake till party. It sure gonne a be the talk of the town & big party hit

This is AMAZING!! Hats off :D
ReplyDeleteThank you so much Soniya, coming it from you means a lot to me :)
ReplyDelete